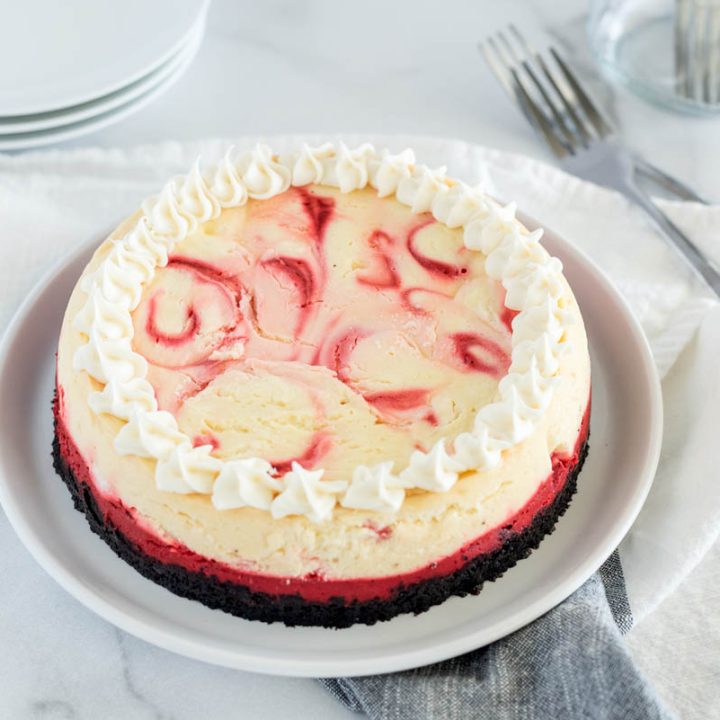
Red Velvet Cheesecake
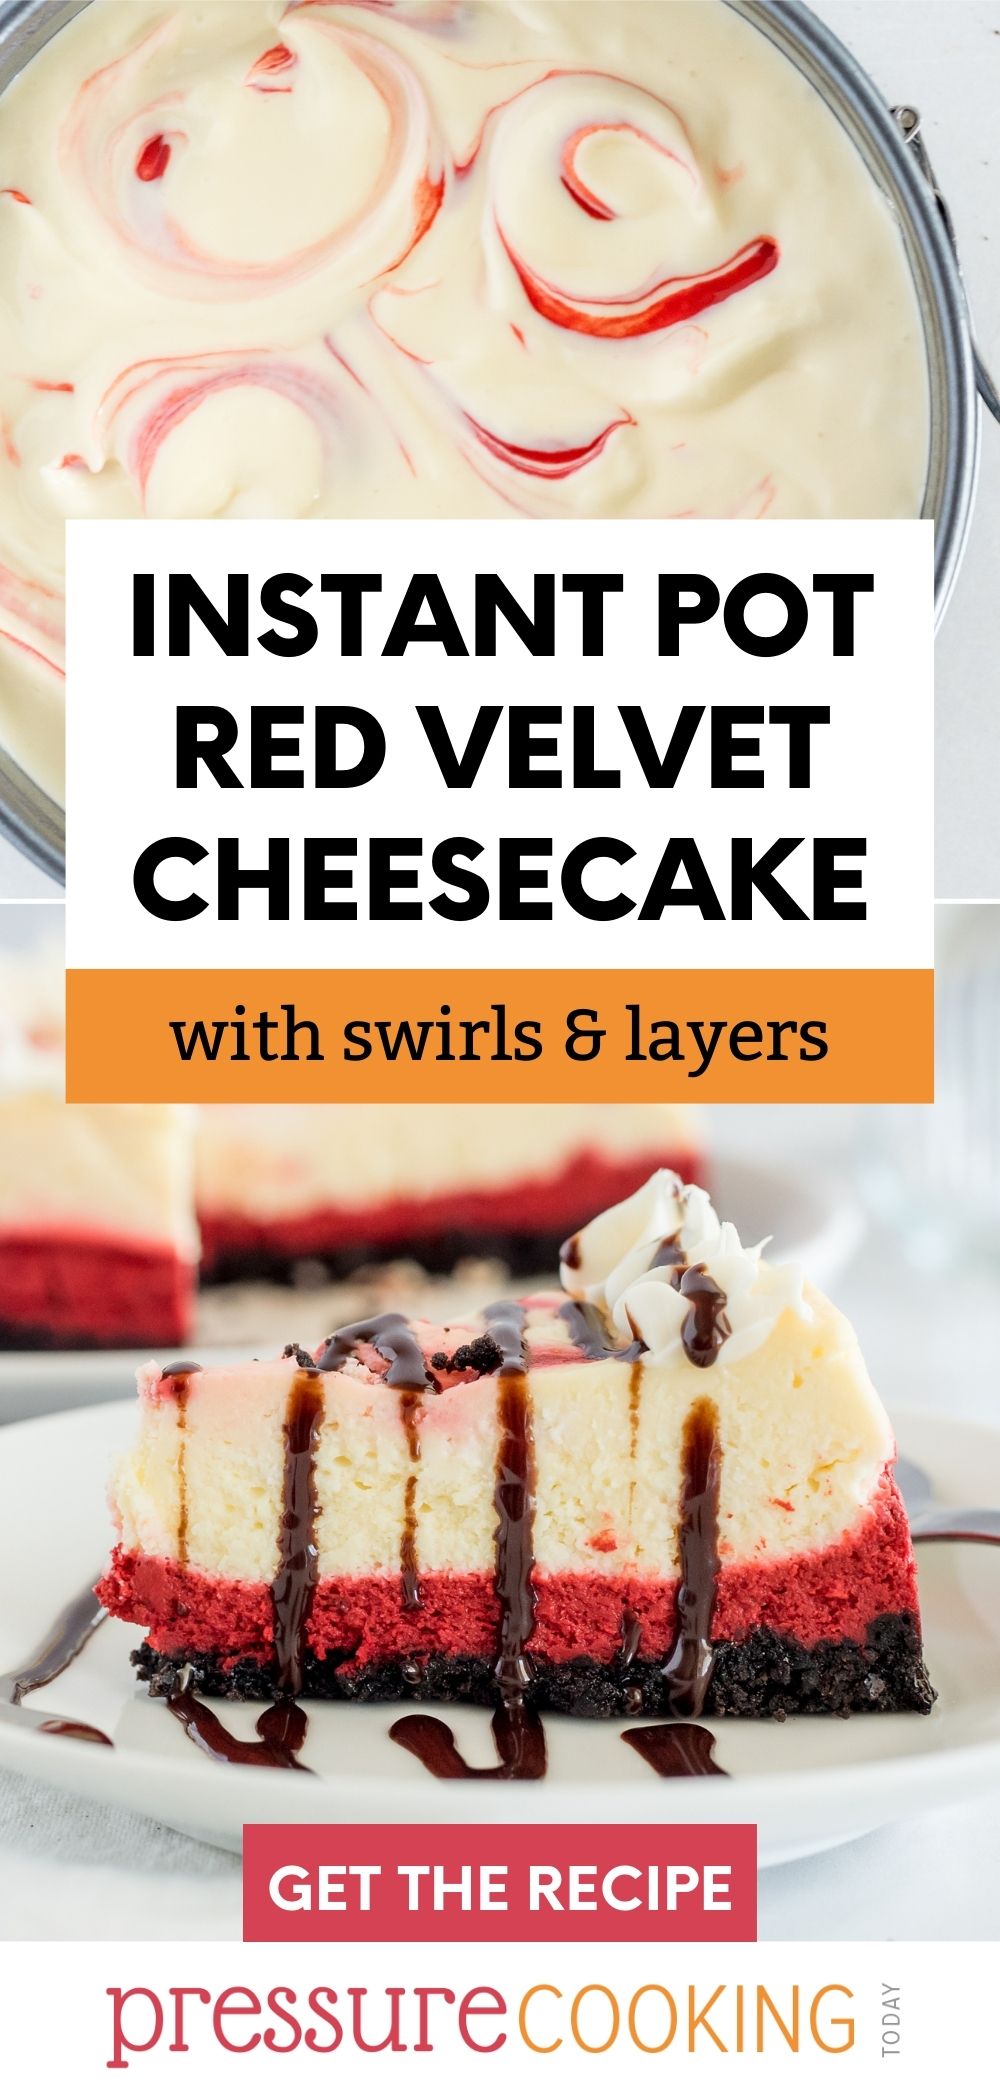
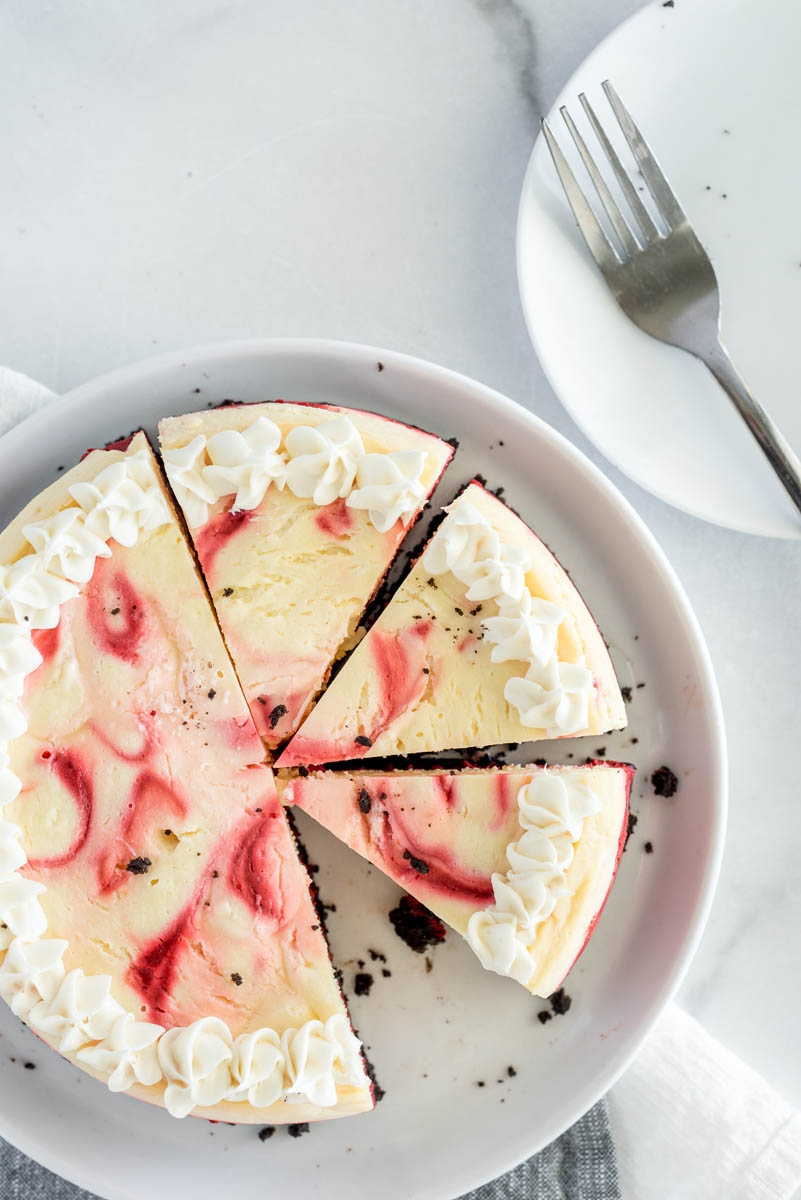
This stunning Instant Pot Red Velvet Cheesecake has a swirled red and white top, a simple graham cracker crust, and a thick and tangy cream cheese filling.
❤️ Why You’ll Love This Recipe: The red swirls look extra fancy, but this whole cheesecake is easy to make, and a 7-inch cheesecake is just the right size for a small get-together.
We love making cheesecake in the Instant Pot and know how to ensure they come out perfectly every time. If this is your first pressure cooker cheesecake, start with our foolproof how-to guide.
Red Velvet has been one of our most requested cheesecake flavors from readers, so we’re thrilled to share it with you!
This pretty swirled cheesecake is one of our favorite Instant Pot cheesecake recipes. Serve it for a Valentine’s day or birthday celebration and watch it disappear!
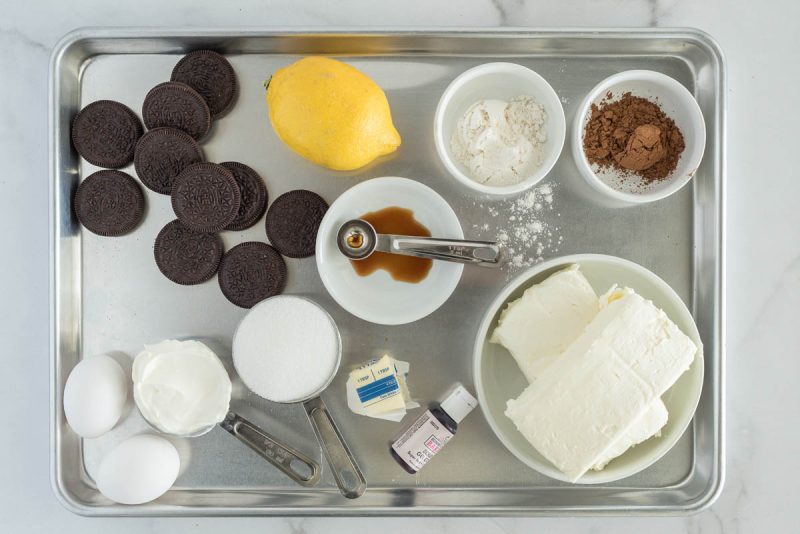
INGREDIENTS YOU NEED
Here’s what you need to make the crust and filling for this Instant Pot Red Velvet Cheesecake:
- Chocolate cookies. Oreos or Nilla Wafers work great.
- Butter. Use unsalted, melted butter to bind the cookies together for the crust.
- Cream cheese. Use full-fat, room temperature cream cheese.
- Sugar. Granulated sugar works great.
- Vanilla extract. I recommend pure vanilla, not imitation.
- Lemon juice. To brighten up the cheesecake filling.
- Sour cream. This adds a nice tanginess.
- Flour. Just a tablespoon of all-purpose flour helps keep the cheesecake come together.
- Eggs. Make sure your eggs are at room temperature for smooth blending.
- Cocoa powder. Regular, unsweetened cocoa powder is best.
- Red food coloring. Just make sure it’s unflavored. I prefer liquid for this recipe, but gel will work in a pinch. You can use more if necessary to reach the red color you’re looking for.
How to Make Red Velvet Cheesecake in an Instant Pot
This easy recipe will work in any brand of electric pressure cooker, including the Instant Pot, Ninja Foodi, or Power Pressure Cooker XL.
Start by preparing the pan. Grease a 7-inch springform pan with nonstick cooking spray. Line with parchment paper, if desired.
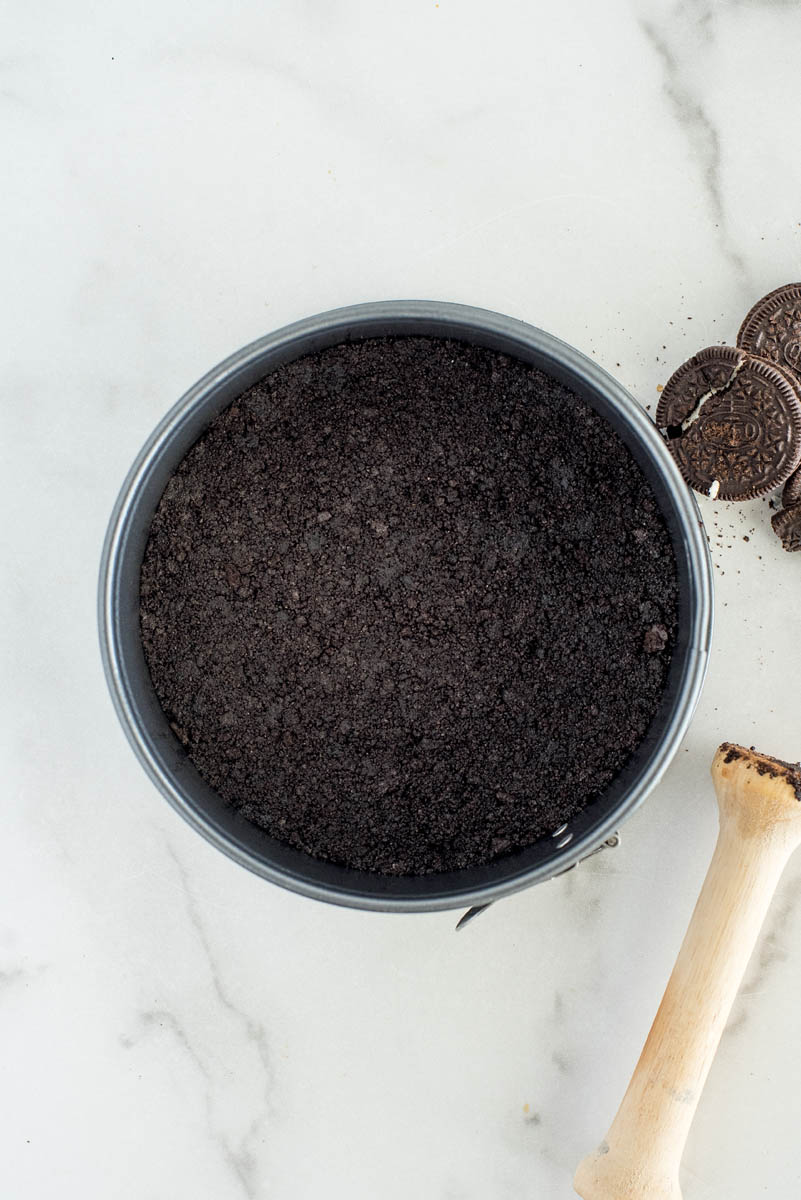
Make the Crust
To make the crust, combine the chocolate cookie crumbs and melted butter. Press the mixture into the bottom of the prepared pan and one inch up the sides. Freeze for 10 minutes.
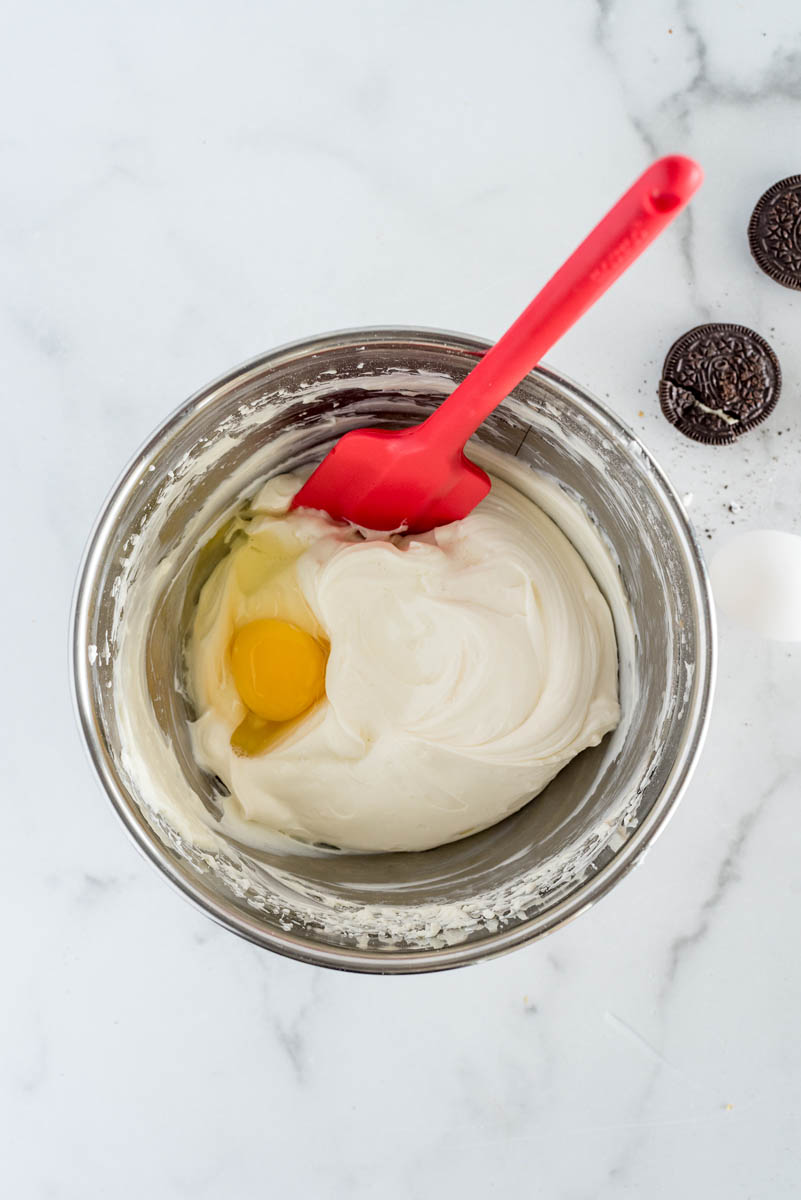
Don’t Overmix the Cheesecake Batter
Meanwhile, beat together the cream cheese and sugar just until smooth. Add the lemon juice, vanilla, sour cream, and flour. Add eggs one at a time. Mix until just combined, then stop mixing!
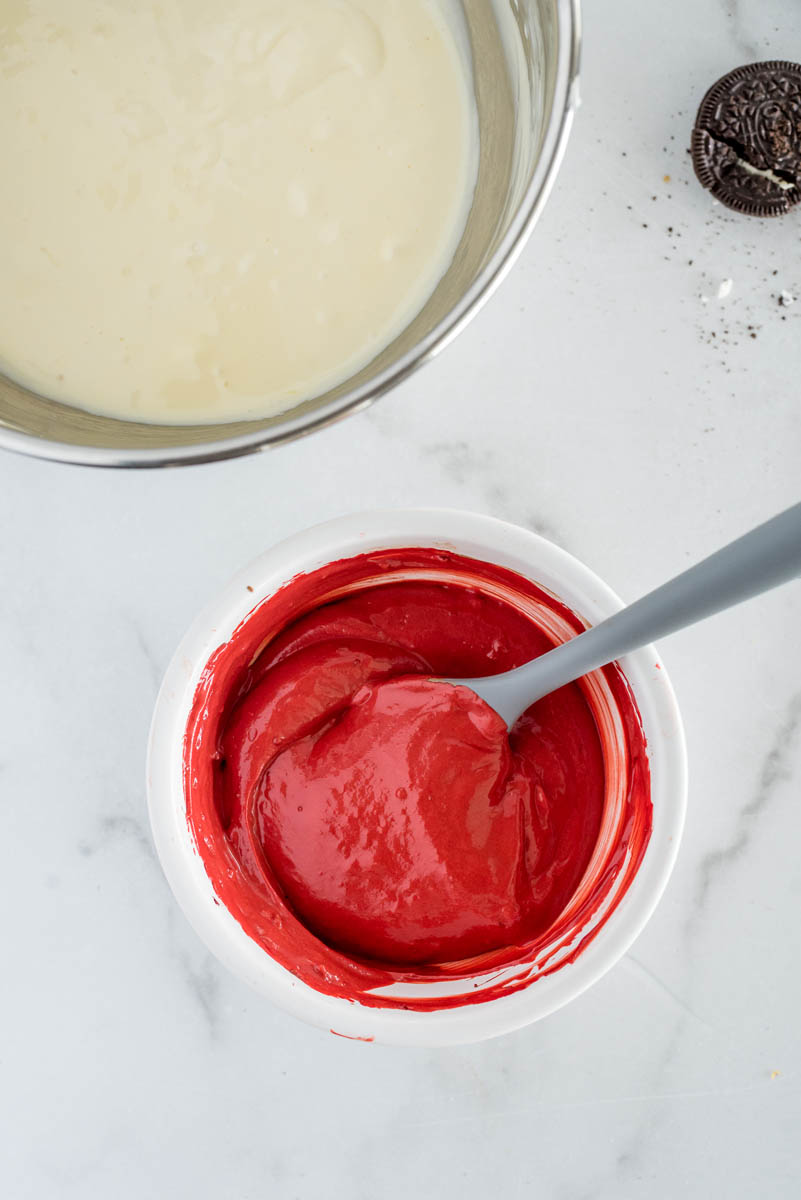
Divide, Color, and Swirl
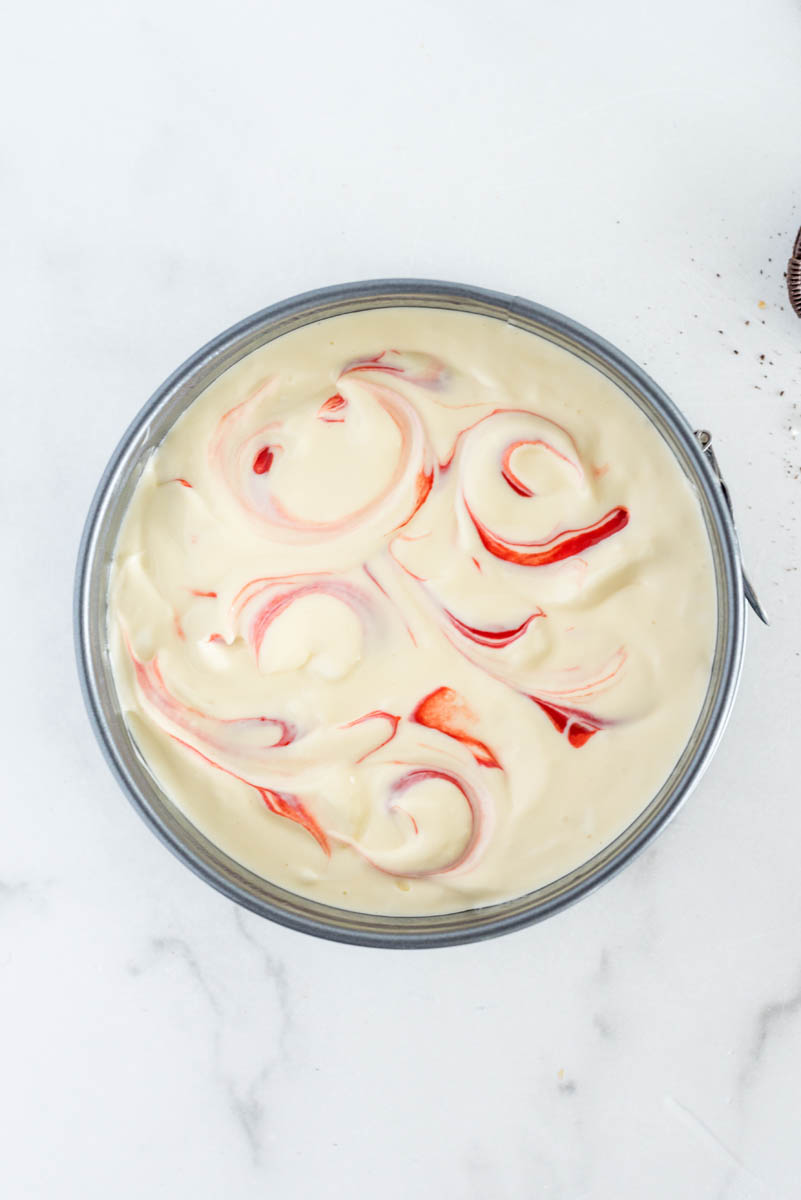
Scoop a cup of batter into a separate bowl and add the cocoa powder and red food coloring. Stir until combined. Pour the red batter into the springform pan on top of the crust. Then gently pour the white batter on top. Use a spoon to pull some of the red batter up from the bottom of the cheesecake and swirl. Don’t try to swirl too much.
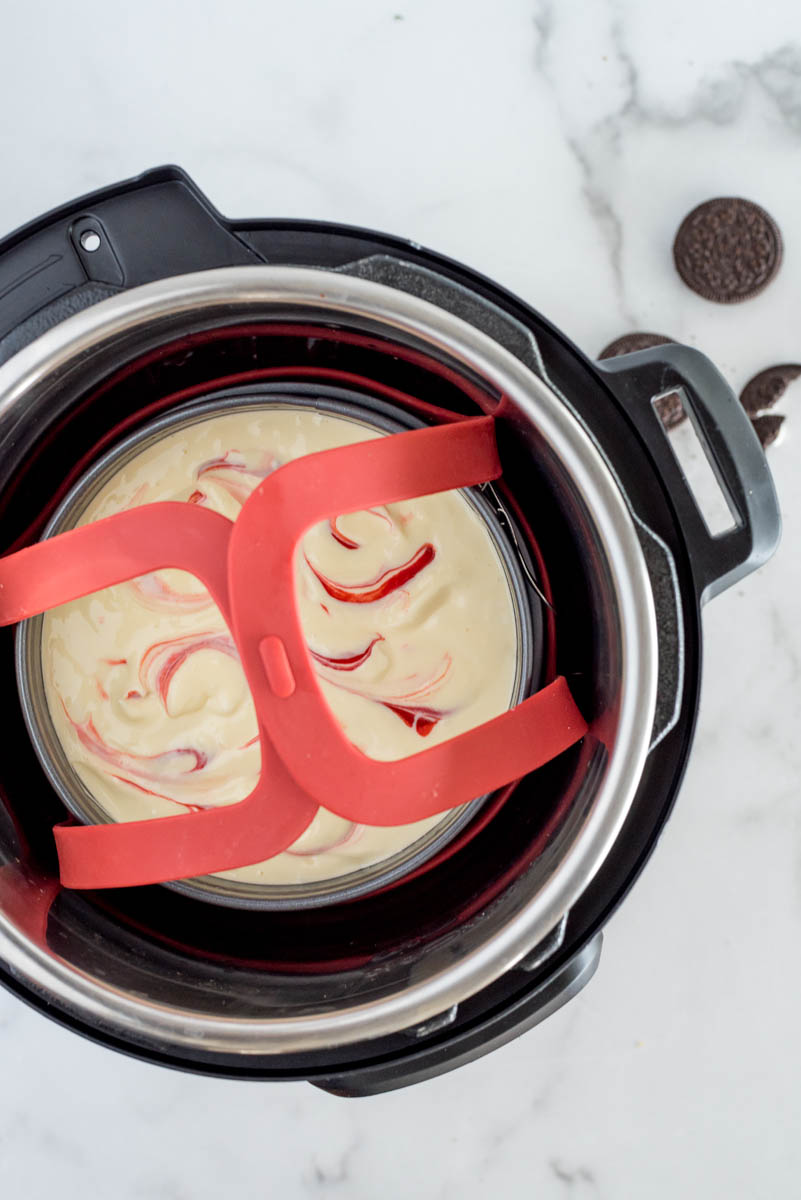
Pressure Cook on a Trivet
To cook, add a cup of water to the pressure cooking pot and place a trivet in the bottom. Use a sling to lower the cake pan onto the trivet and fold the sling into the pot. Close the lid and cook on High Pressure for 23 minutes. Let the pressure release naturally for 10 minutes, then finish with a quick pressure release.
Cool then Chill Until Ready to Serve
Remove the lid, and check to see if the cake is set in the middle. When it’s done, use the sling to remove the cake pan from the pot. Cool the cheesecake on a wire rack to room temperature. When cool, loosen the cake from the pan with a thin knife. Then cover the cake with plastic wrap and chill in the fridge for at least 4 hours. (I prefer overnight.)
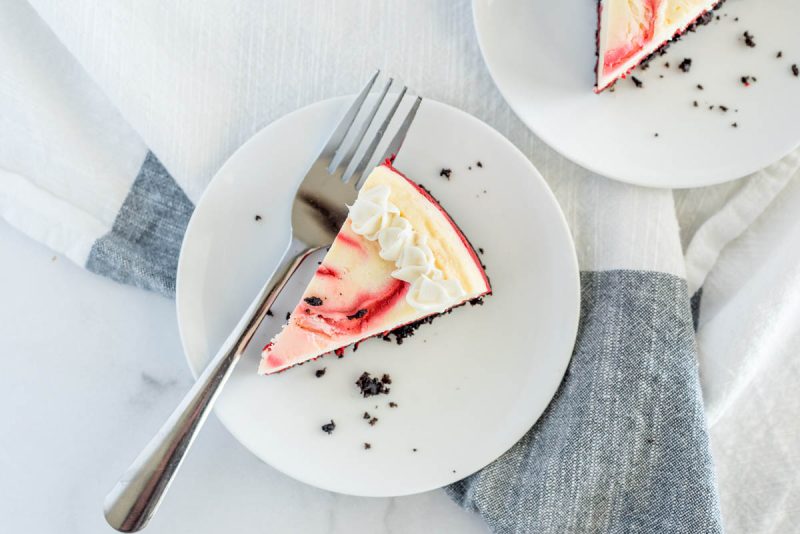
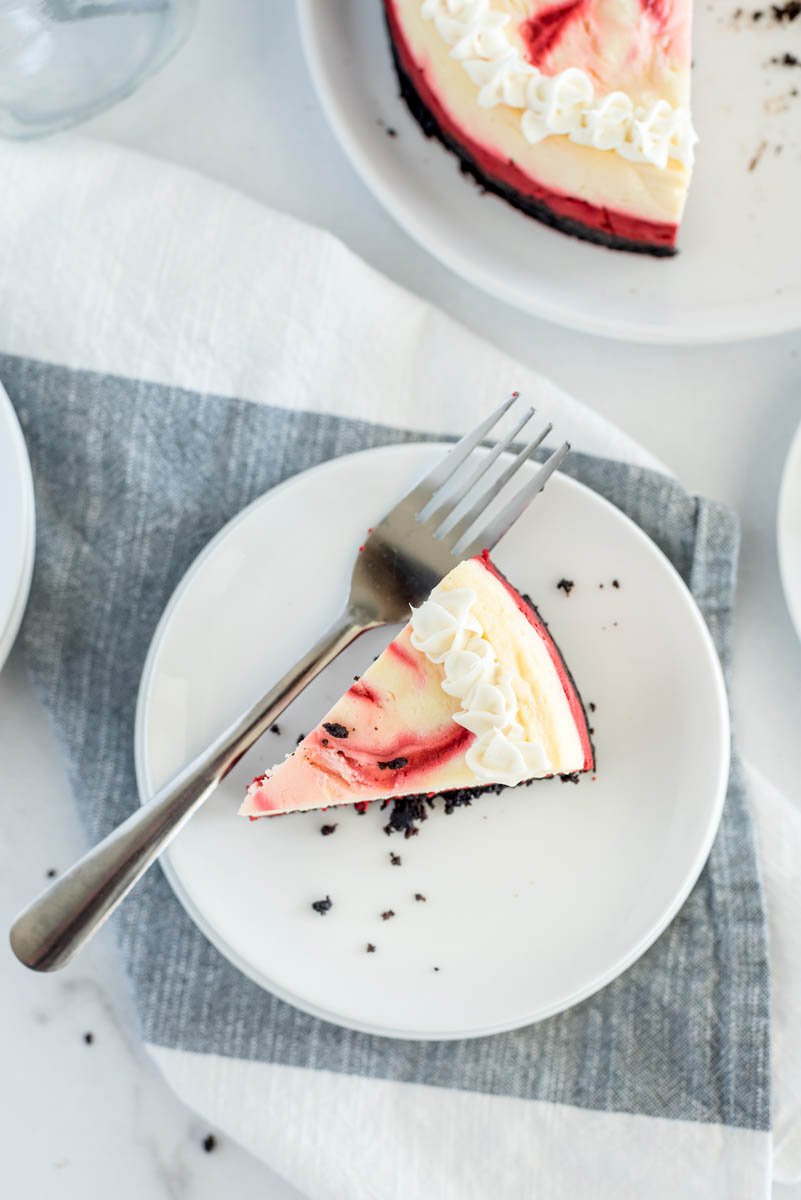
Serve as-is or with a drizzle of chocolate, chocolate curls, or a dollop of whipped cream.
Important Tips for Making Red Velvet Chocolate Cheesecake
Before you start cooking, make sure that all of your ingredients are at room temperature. Otherwise, your cake batter may not mix uniformly and then won’t bake correctly.
It’s very important to choose a flavorless red food coloring. I like the liquid (as opposed to gel) food coloring for this recipe. It mixes more easily so you won’t over mix the cheesecake batter. You can use a gel, just be careful not to stir too much!
Overmixing the cheesecake batter can make it flat and tough, not fluffy and smooth.
Because the chocolate flavor is swirled, the red velvet flavor is more subtle than other chocolate cheesecake recipes. If you want a stronger chocolate flavor, you can always top the finished cake with melted chocolate.
Be sure to let the cake cool for at least 4 hours in the fridge before serving. This time helps the cake firm up so it’s sliceable. However, I think that cheesecake tastes best a day or even two after baking.
Products
You’ll need a few key products to make a cheesecake in the Instant Pot.
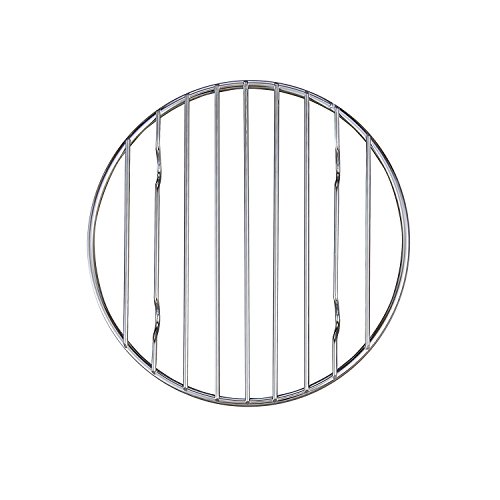
- First, set a trivet into the pot. You can use the trivet that came with your pressure cooker. We love this one too.
- A sling is essential for lowering the cake into and removing the cake from the pot. We like this reusable sling, but you can also make your own with tin foil.
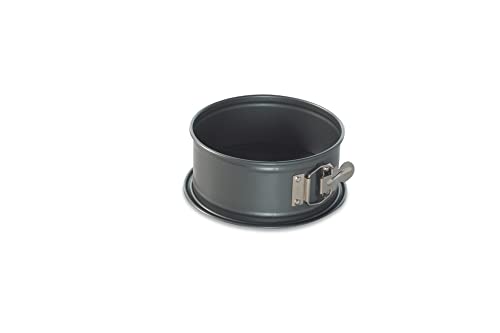
- This cake is made in a 7-inch springform pan, which is the right size to fit into a 6-quart Instant Pot.
Frequently Asked Questions about Red Velvet Cheesecake
We tested a few different ways to get the best marbled look on the top of your cheesecake, such as a spoon, a toothpick, and a skewer. We had the best results using a larger spoon. Just be careful when you twist the spoon not to grab any crust on the bottom.
After swirling, we scraped the red batter remaining in the bowl on top to help improve the swirl effect. However, if another method works better for you to get the nice marbled swirl effect like this one, go with it!
We kept the chocolate flavor a little lighter in this cheesecake, since Red Velvet Cake use less cocoa than regular chocolate cake. (Compare our favorite Red Velvet Cake recipe to our favorite Chocolate Cake recipe.)
If you’re wanting a heavy chocolate flavor, you can’t go wrong with our Chocolate Cheesecake or our Nutella Rolo cheesecake.
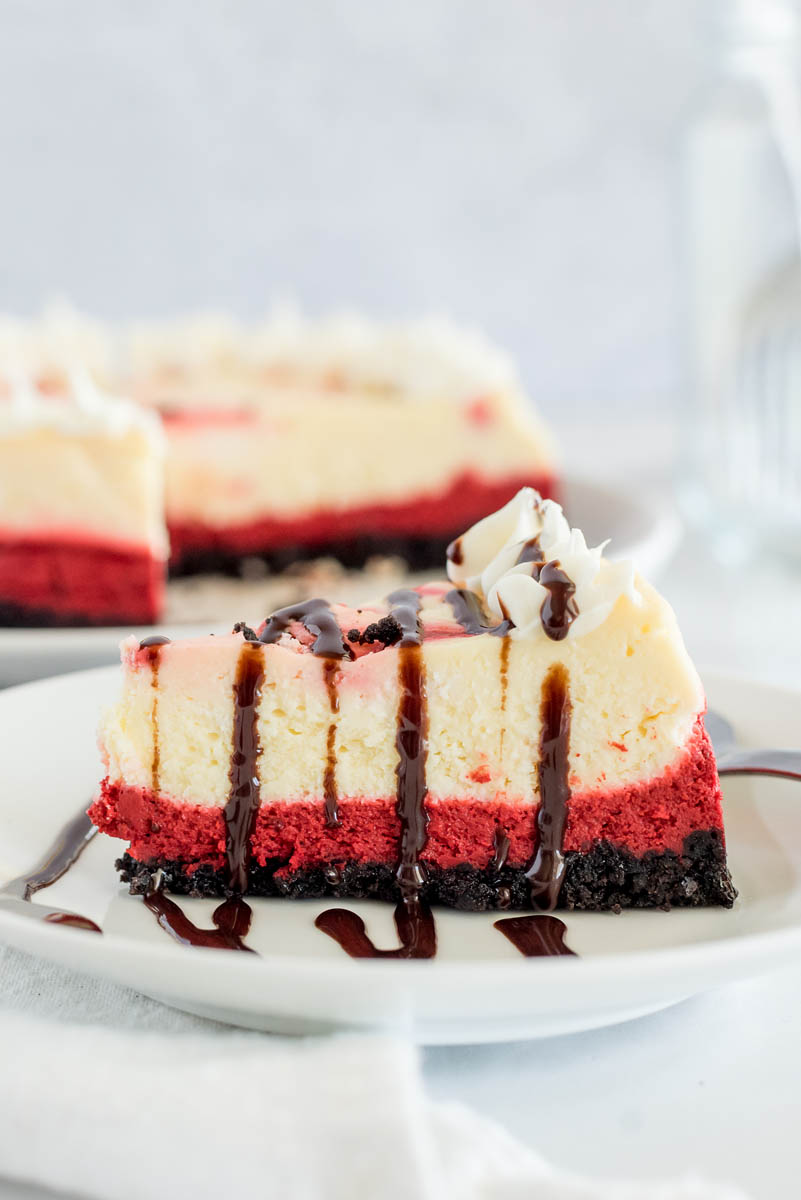
You can easily make this cake look just as good without the swirl. You can divide the batter in half and make a two-layer red and white cheesecake. (This would look so good for Valentine’s Day.)
Or, if you don’t mind biting into a very red cheesecake, you can also double the cocoa and red food coloring and add it to the whole batch of cheesecake batter.
Store leftover cheesecake wrapped in plastic wrap in the fridge for up to 4 days.
If you’re cooking for two or for one, you can also cut the cheesecake into individual slices, place on a baking sheet and freeze solid. Once frozen solid, wrap in plastic wrap and pop the slices into a freezer safe bag. They should last about 3 months if kept frozen.
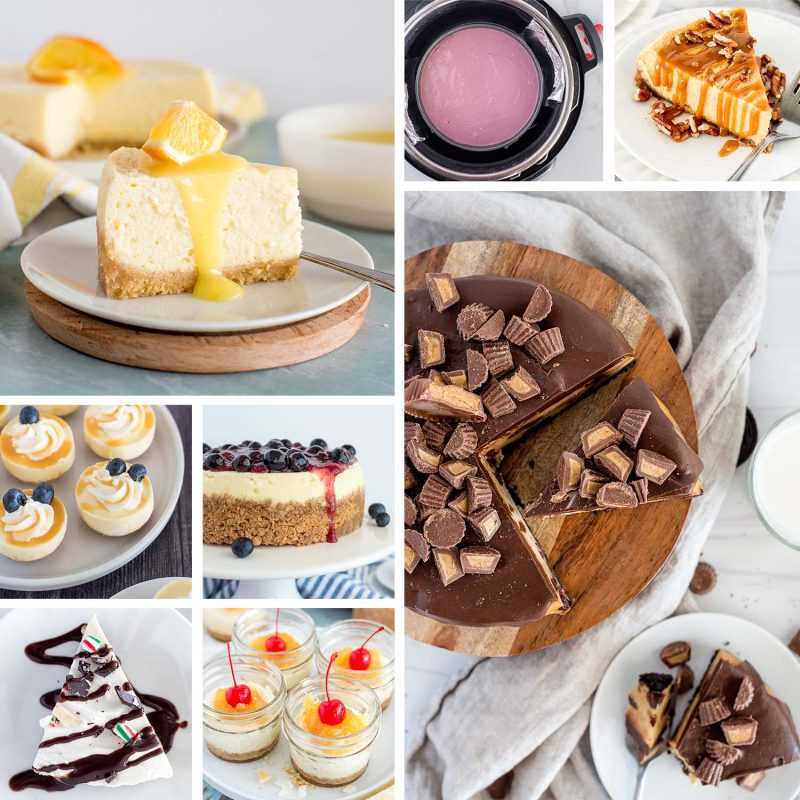
MORE Instant Pot Cheesecake Recipes
You’ll love these other easy cheesecake recipes. For more inspiration, check out our top 12 Instant Pot cheesecake posts.
- Easy Raspberry Cheesecake has a gorgeous pink color and an easy graham cracker crust.
- Triple Chocolate Layered Cheesecake is a must-try recipe for chocolate lovers.
- Triple Berry Cheesecake is a great one to make for the 4th of July or anytime you’re craving berries.
Do you LOVE this recipe?
Leave us a review below to tell us why!
Red Velvet Cheesecake
This Red Velvet Cheesecake is an easy Instant Pot recipe made with a stunning red and white swirl on top and a subtle chocolate flavor.
Ingredients
CRUST
- 1 cup chocolate cookie crumbs (Oreo or chocolate nilla wafers)
- 2 tablespoons butter melted
FILLING
- 16 ounces cream cheese, room temperature
- 1/2 cup sugar
- 2 teaspoons fresh lemon juice
- 1/2 teaspoon vanilla extract
- 1/3 cup sour cream
- 1 tablespoon all-purpose flour
- 2 eggs, room temperature
- 1 tablespoon unsweetened cocoa powder
- 1/2 teaspoon liquid, no-taste red food coloring* (use more if desired)
Instructions
- Prepare a 7-inch springform pan by coating it with nonstick cooking spray. Line with parchment paper, if desired.
- In a small bowl, combine the chocolate cookie crumbs and butter. Press evenly in the bottom and no more than 1-inch up the side of the pan. Place in the freezer for 10 minutes.
- In a large bowl, mix cream cheese and sugar at medium-low speed until smooth. Mix in lemon juice, vanilla, sour cream, and flour. Add eggs one at a time just until blended. Don’t over mix!
- Scoop about 1 cup batter into a small bowl. Gently stir in cocoa powder and red food coloring until blended.
- Pour the red batter into the springform pan on top of the crust. Then gently pour the white batter on top. Use a spoon to pull some of the red batter up from the bottom of the cheesecake and swirl. (Less is more on this step.)
- Pour 1 cup of water into the pressure cooking pot, and place a trivet in the bottom. Center the filled pan on a sling and carefully lower it into the cooking pot. Fold the sling down so that it doesn’t interfere with closing the lid.
- Lock the lid in place. Select High Pressure and 23 minutes cook time. When the cook time ends, turn off the pressure cooker and allow the pressure to release naturally for 10 minutes, then finish with a quick pressure release. When the valve drops, carefully remove the lid.
- Check to see if the cheesecake is set in the middle. If the cheesecake isn’t quite done, return the lid and cook at High Pressure for an additional 5 minutes, followed by a 10 minute natural release.
- When the cheesecake is done, use the sling to carefully remove it from the cooking pot. Place on a wire rack to cool.
- Use the corner of a paper towel to soak up any water that may have accumulated on top of the cheesecake.
- When cheesecake is cooled to room temperature, run a thin knife around the edge of the springform pan to separate it from the edges. Refrigerate covered with plastic wrap for at least 4 hours or overnight. Refrigerate until ready to serve.
- Serve plain or topped with a chocolate drizzle, chocolate shavings, and a dollop of whipped cream.
Notes
*For best results, I prefer to chill overnight to 24 hours before serving.
Recommended Products
As an Amazon Associate and member of other affiliate programs, I earn from qualifying purchases.
Nutrition Information:
Yield: 8 Serving Size: 1Amount Per Serving: Calories: 366Total Fat: 28gSaturated Fat: 15gTrans Fat: 0gUnsaturated Fat: 9gCholesterol: 117mgSodium: 263mgCarbohydrates: 25gFiber: 0gSugar: 19gProtein: 6g
Nutrition information is calculated by Nutritionix and may not always be accurate.
FOR MORE FROM PRESSURE COOKING TODAY
🥘 Browse our collection of the best pressure cooker / Instant Pot recipes.
💬 Follow Pressure Cooking Today on Facebook and Instagram for the latest updates.
👥 Join our Electric Pressure Cooker Facebook Group. Our positive community of pressure cooking fans use all brands of electric pressure cookers, so it’s a great resource if you have questions about your particular brand.
🥧 If you’re interested in more than just Instant Pot recipes, follow us at Barbara Bakes. There we post amazing breakfasts, breads, and the best dessert recipes!